1) Download the latest version of GoodSync for Windows from our download page.
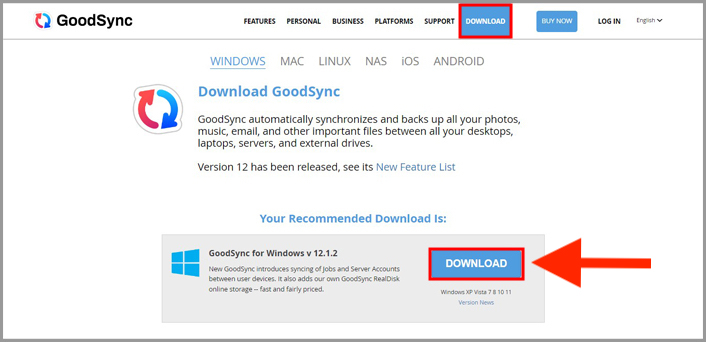
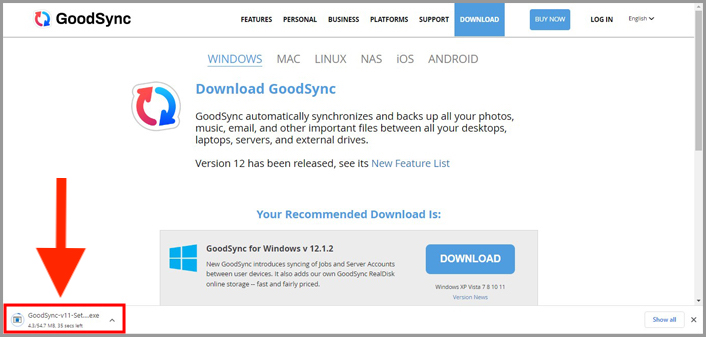
2) Once the setup file has finished downloading, it will appear in your browser’s download bar.
Click the downloaded file to start the setup process.
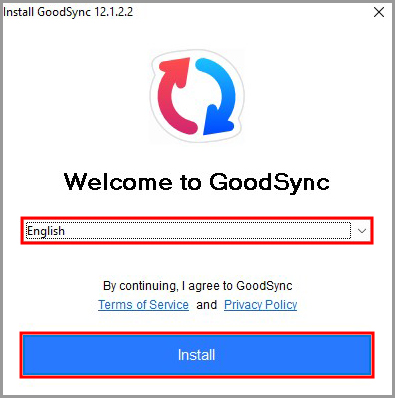
3) On the "Welcome to GoodSync" screen, select your preferred language, then click "Install."
NOTE: By clicking "Install," you agree to the GoodSync Terms of Use and Privacy Policy.
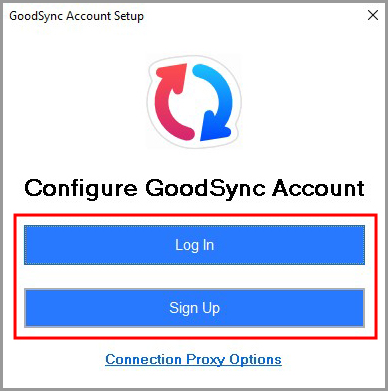
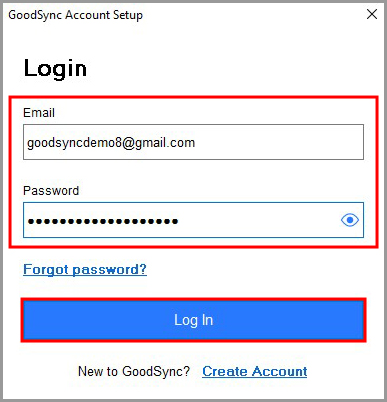
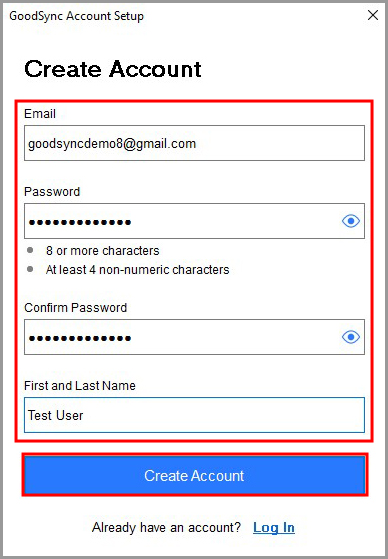
4) On the next screen, choose either "Log In" to access an existing GoodSync account or "Sign Up" to create a new GoodSync account.
Enter the required information, then click either "Log In" or "Create Account."
NOTE: If you are creating a new GoodSync account, use a valid email address. This email will be used for One-Time Password (OTP) authentication.
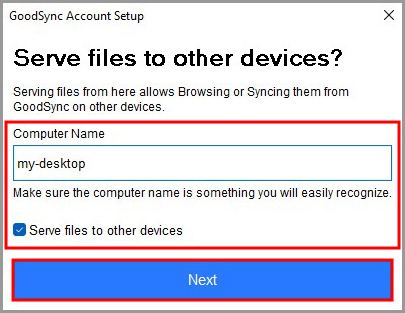
5) Next, enter a name for this device and choose whether GoodSync can serve files from this computer.
"Serve files to other devices":
When this option is checked, GoodSync can accept incoming connections from other devices registered to your GoodSync account. This allows you to access and sync files from this computer using GoodSync on another computer or mobile device.
When this option is unchecked, this computer will not serve files to other GoodSync devices.
Select your preferred setting, then click "Next."
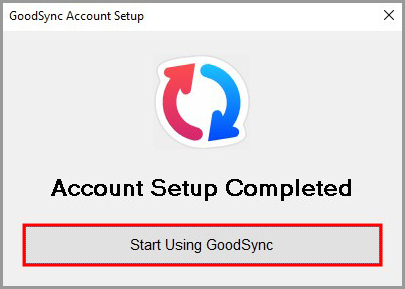
6) GoodSync will confirm that your account setup is complete.
Click "Start Using GoodSync" to continue.
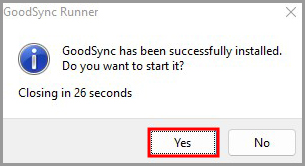
7) GoodSync will display a confirmation message that the installation was successful.
Click "Yes" to launch GoodSync.
8) Start creating your first GoodSync Backup/Synchronization job. Click here for our tutorial on Job creation.


