GoodSync Server Advanced Options provide a robust framework for managing a device’s GoodSync Connect users, user access privileges, and other advanced features pertaining to GoodSync Connect functionality.
- Creating your GoodSync Connect Admin
- User Management
- Settings (Basic and Expert)
- Sessions
- Log management
Creating your GoodSync Connect Admin
To access Server Advanced Options, you must first register a GoodSync Connect account to this device. This first registered account will act as the GoodSync Connect admin for this machine.
1) Click on Tools >> GoodSync Connect Setup.
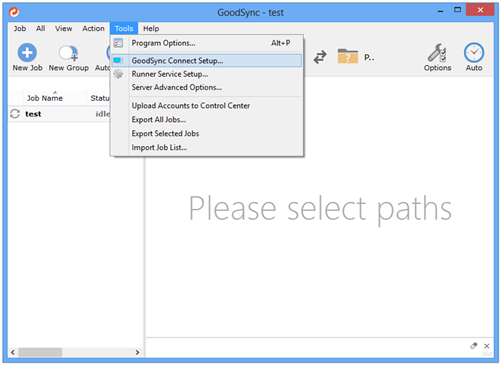
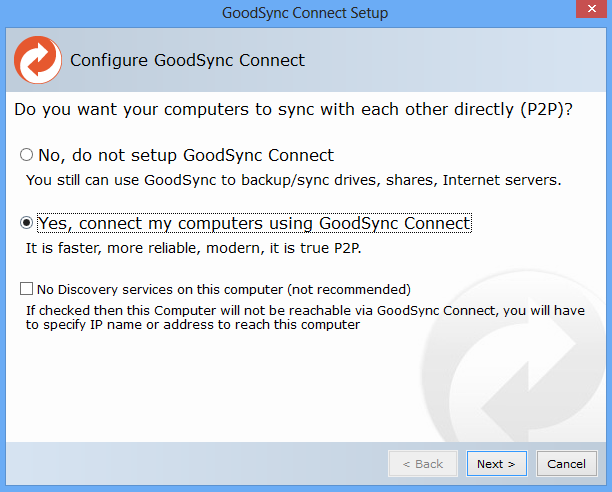
2) Select the “Yes” radio button.
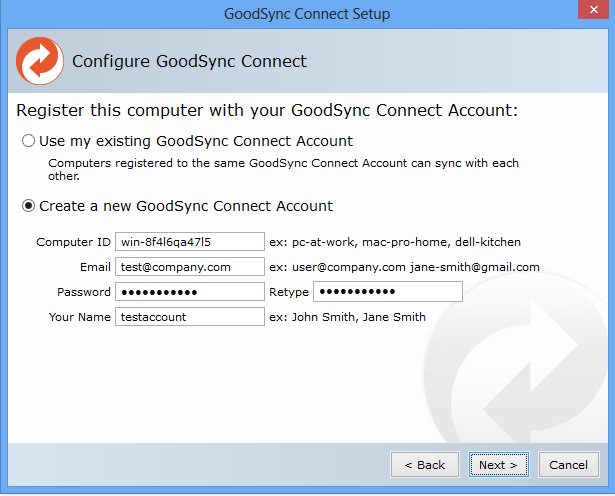
3) If you have an existing GoodSync Connect account, you may choose the “Use my existing GoodSync Connect Account” option. If you do not have a GoodSync Connect account, you may create a new account for free.
You may also manage your GoodSync Connect account(s) here:
https://www.goodsync.com/goodsync-connect
4) If you would like to allow access to any network shares on the network from connecting devices, you may also provide the Windows password.
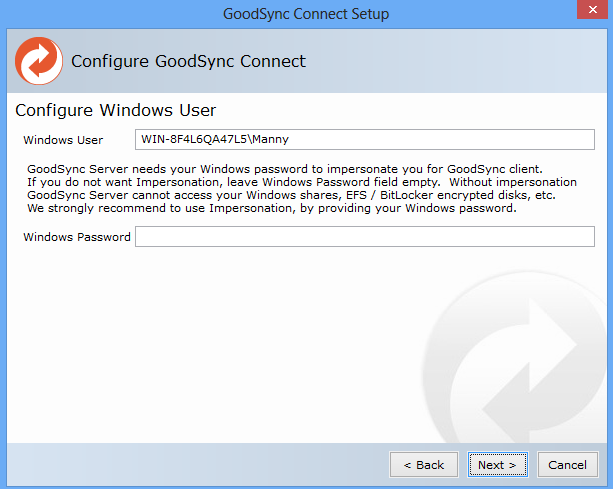
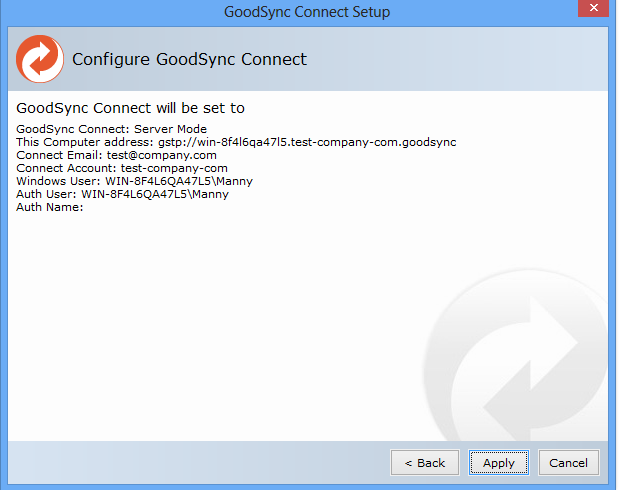
5) Click “Apply” to register this GoodSync Connect account to this device.
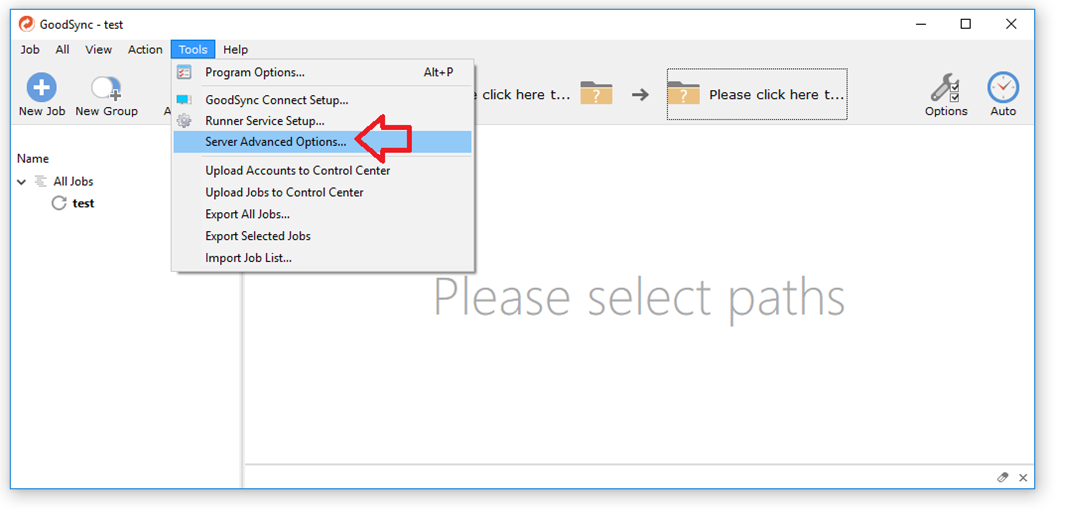
6) Now you may access Server Advanced Options by clicking on Tools >> Server Advanced Options.
 7) You will be prompted for credentials. These will be the credentials of the GoodSync Connect account you registered to this device just a few moments ago.
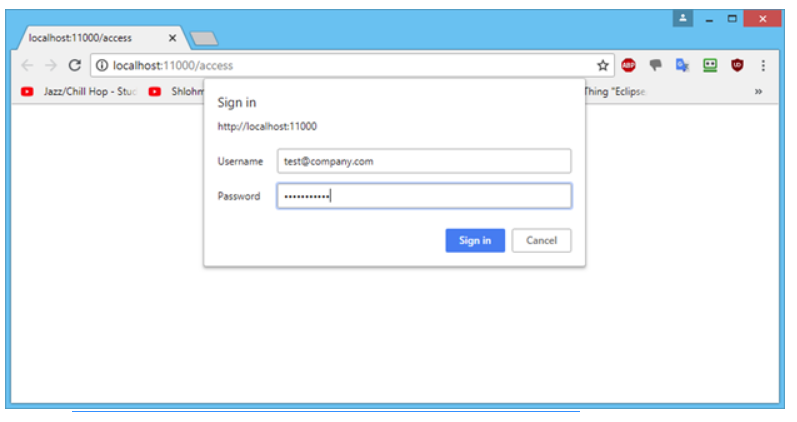 8) Once you provide the correct credentials, you will gain access to your Server Advanced Options dashboard. Here you may manage users and access privileges, server settings, view sessions and logs, and activate the application.
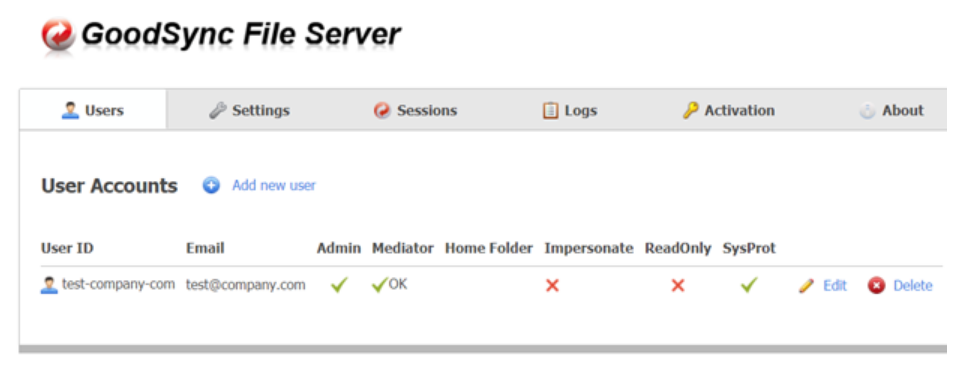
User Management
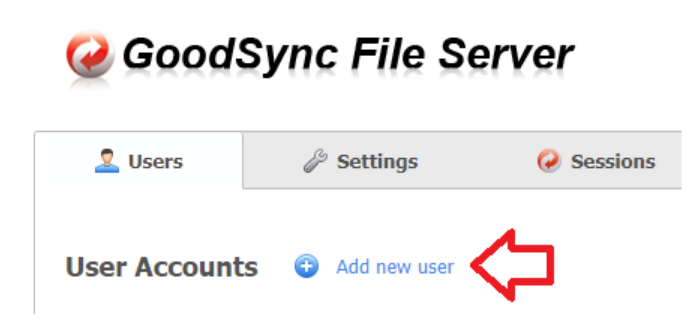
Additional GoodSync Connect users may be registered to this machine with the “Add new user” function. This is particularly useful for specifying varying degrees of access to data on this machine for remote users. To add a new GoodSync Connect user, click the “Add new user” button.
A wealth of configuration possibilities are available for user management, including the ability to specify home folders, usable disk space restrictions, read-only access, and more.
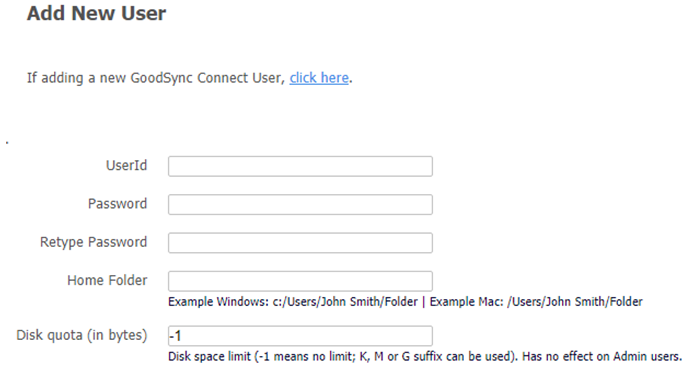
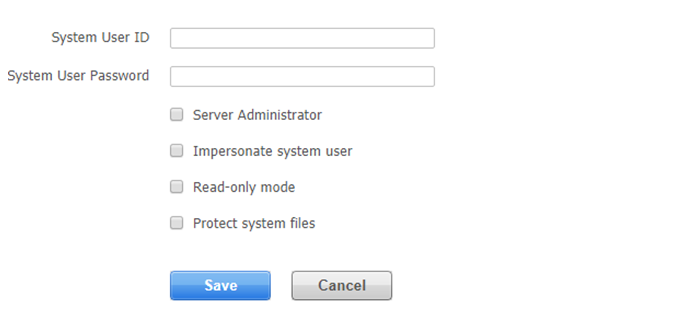
- UserId - GoodSync Connect username or email.
- Password - GoodSync Connect password.
- Home Folder – a remote user cannot access data outside of this location (access is restricted to files and folders within the specified home folder).
- Disk quota (in bytes) – the amount of usable disk space allowed for the remote user.
- System User ID (not required) – set GoodSync Connect user to run with privileges of specified Windows/Mac/Linux user account, for access to nearby network shares, EFS, or BitLocker-encrypted data (Home Folder restrictions will override these privileges).
- System User Password (not required) – Windows/Mac/Linux user account password.
- Server Administrator – checkbox to specify the user as a GoodSync Connect admin for this machine (grants access to Server Advanced Options).
- Impersonate system user – allows GoodSync to impersonate specified system user (check if values for System User ID and System User Password are provided).
- Read-only mode – restricts user access to read-only mode.
- Protect system files – prevents access to system files.
Settings (Basic and Expert)
In the Settings tab, Basic and Expert configuration options are available. Basic Settings include options for discoverability, listening port number, and forwarder server use.
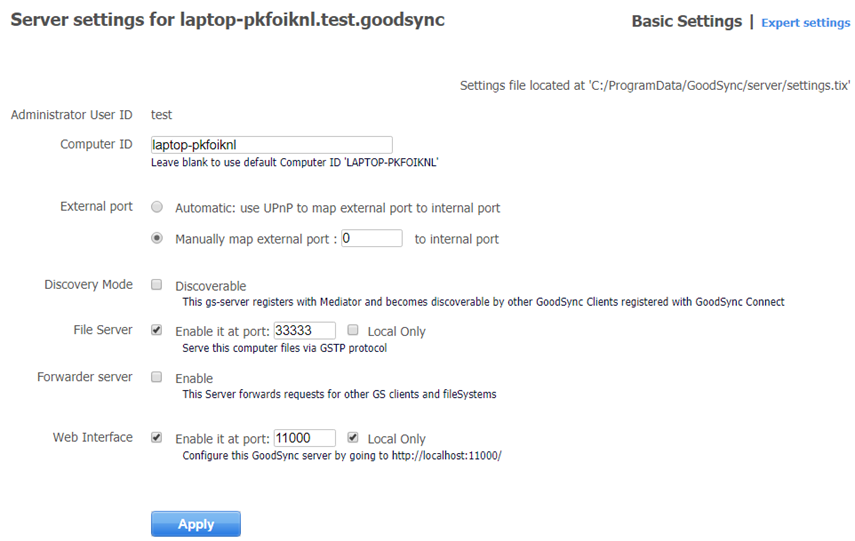
- Computer ID – display name for this machine for the remote user.
- External port – external port for GoodSync Server service.
- Discovery Mode – allows this machine to be discoverable/accessible by remote machines without port forwarding.
- File Server – listening port for incoming sync requests from remote devices.
- Forwarder server – uses forwarder server to allow remote machines to access/sync to this device without port forwarding (check this box if Discovery Mode is checked).
- Web Interface – listening port for Server Advanced Options dashboard.
Expert Settings include options for server log configuration, maximum concurrent connections, and SSL/TLS certificates.
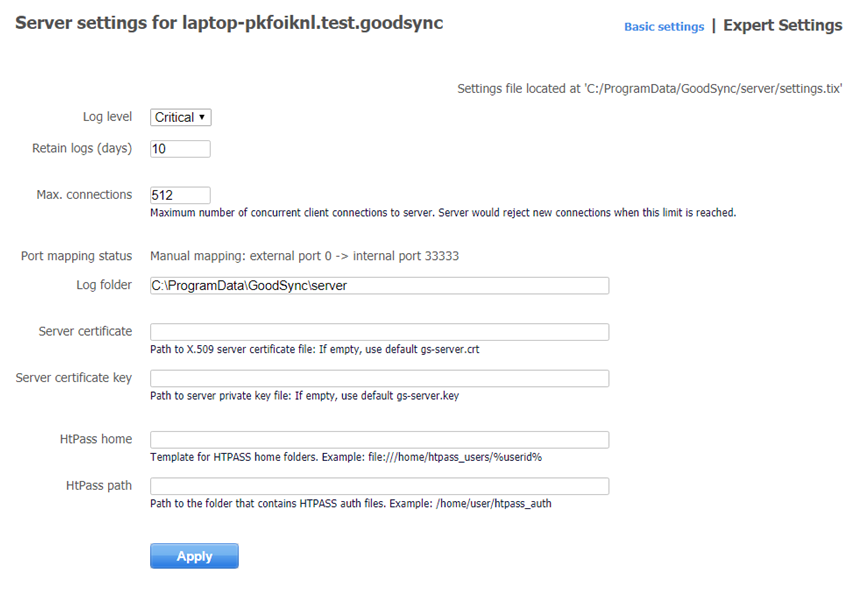
- Log level – specify the level of detail for logs.
- Retain logs (days) – the number of days to retain logs before a purge.
- Max. connections – the maximum number of concurrent connections allowed.
- Log folder – specify the location where logs will be written.
- Server certificate – path to server SSL/TLS certificate.
- Server certificate key – path to certificate key.
- HtPass home - template for HTPASS home folders.
- HtPass path - path to the folder that contains HTPASS auth files.
Sessions
The Sessions tab contains the audit history for any remote users that have accessed or replicated data with this machine. This includes information on the connecting user, the session ID, the IP of the connecting machine, and the action performed.

Log Management
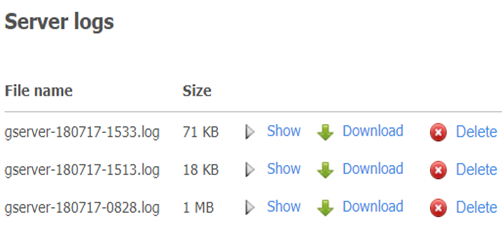
The Logs tab allows for full management over server logs including view, download, and delete functions.