The GoodSync App for Android allows you to utilize your Android device with GoodSync Connect, store and manage your files, back up your device's data, and more. For download and installation instructions for GoodSync, click here.
The Explorer Tab
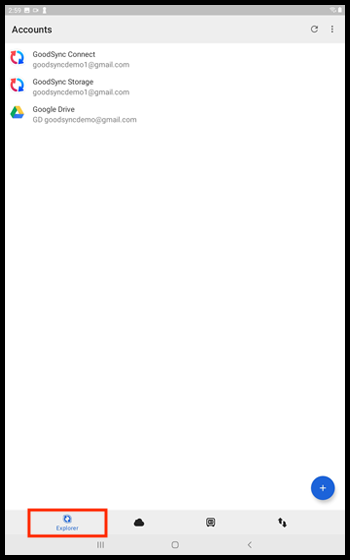
When you first open the GoodSync App for Android, you will be on the Explorer tab.
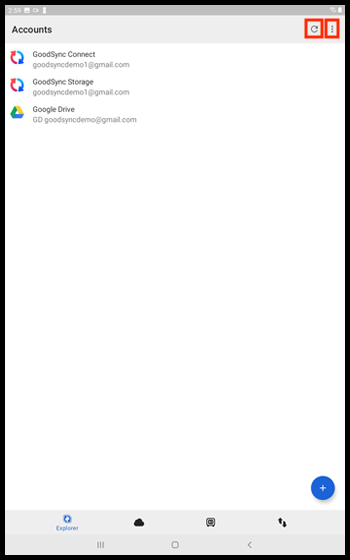
In the top right corner of the initial screen you will see a Refresh button and 3 dots.
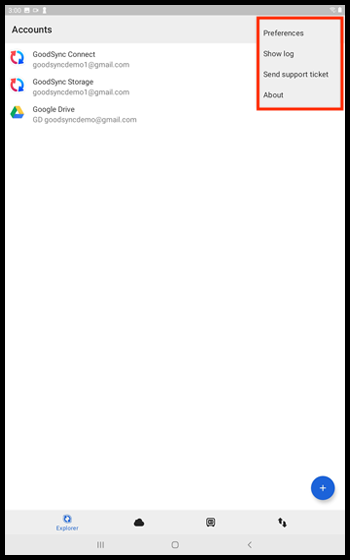
Tap the 3 dots to see options to view your Preferences, Show an activity log, Contact Support, or view GoodSync About page.
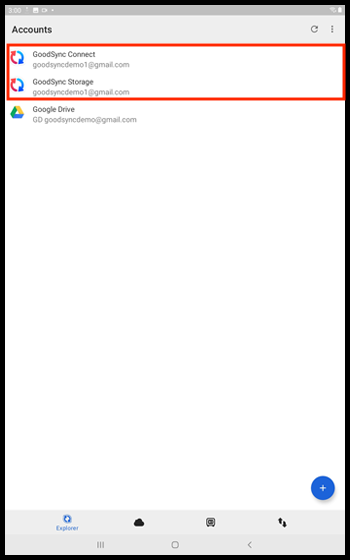
This tab also offers links to GoodSync Connect and GoodSync Storage, by default.
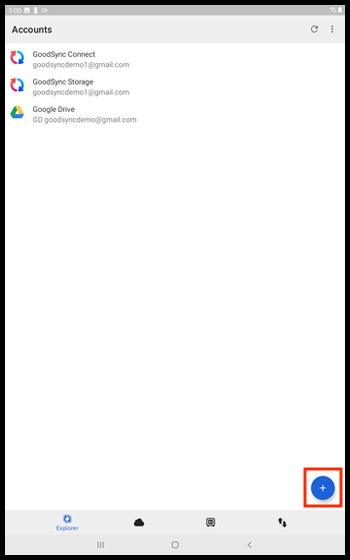
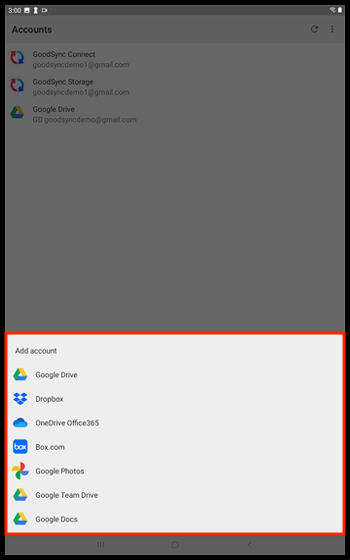
If you tap the blue [ + ] button in the lower right hand corner, you will see a list of supported account types which you can add, if you wish.
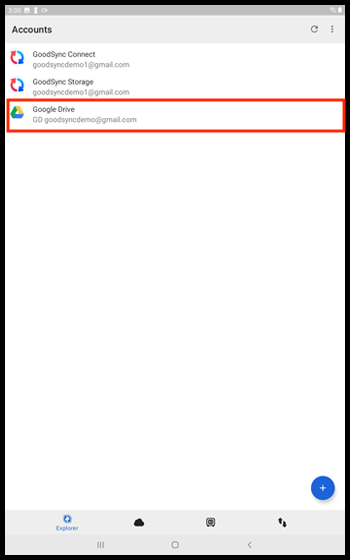
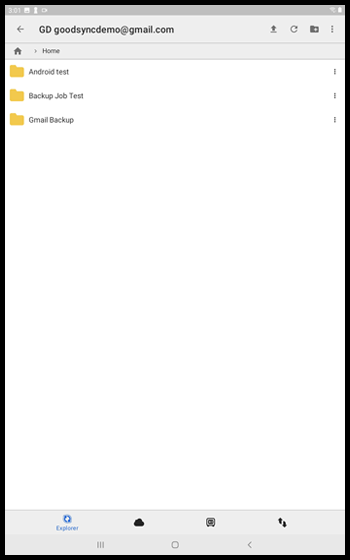
You can tap any of your connected accounts and will be taken to their respective file systems.
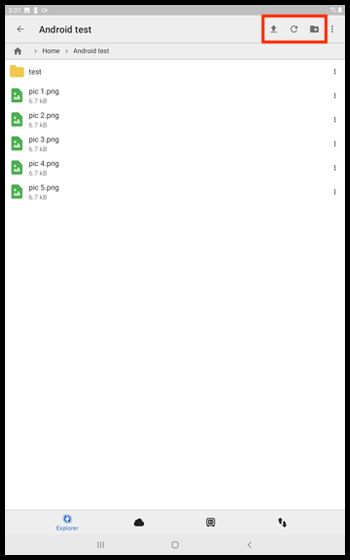
Here, you can upload files to the current folder by tapping the "Up-Arrow" button, refresh by tapping the "Circular-Arrow" button, and add new folders by tapping the folder icon with a plus sign.
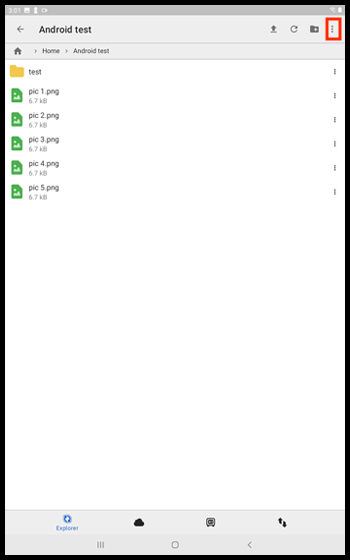
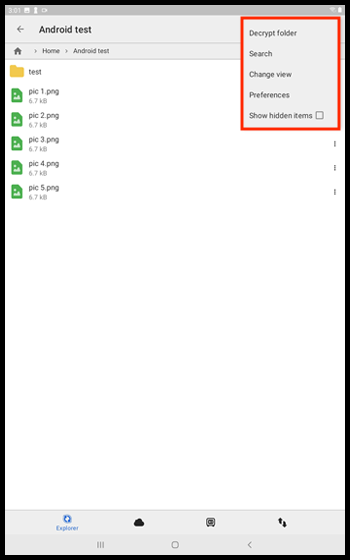
You can also tap the 3 dots in the top right corner to see options to Decrypt folder, Search, Change view, Preferences, and Show hidden items.
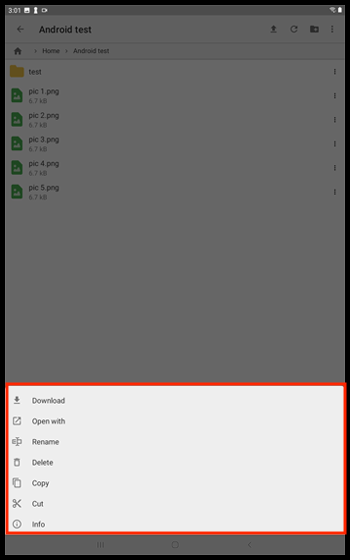
If you tap the 3 dots to the right of an item, you will receive a menu with options to Download, Open with, Rename, Delete, Copy, Cut, and view Info.
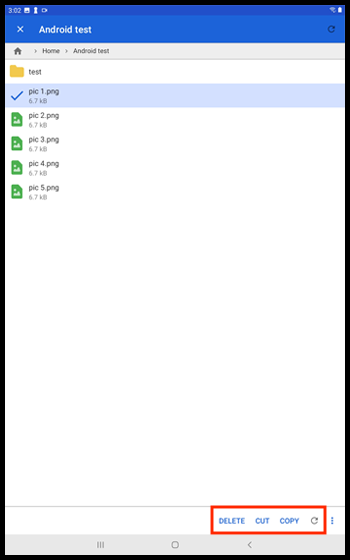
If you press and hold on an item, at the bottom right you will see options to Delete, Cut, Copy, and Refresh.
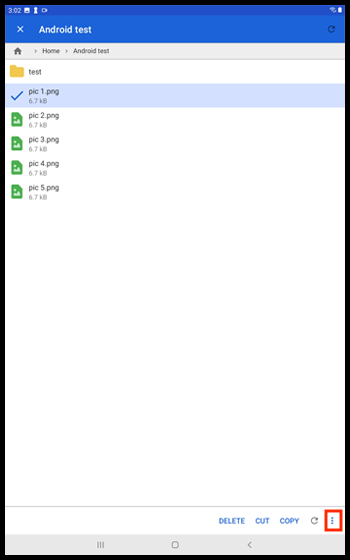
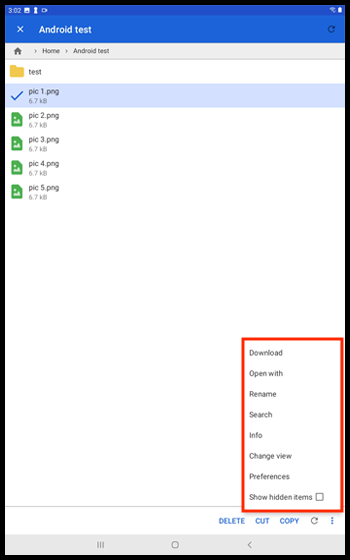
To the right of these options, you can tap the 3 dots to see further options to Download, Rename, Search, view Info, Change view, Preferences, and Show hidden items.
The Server Tab
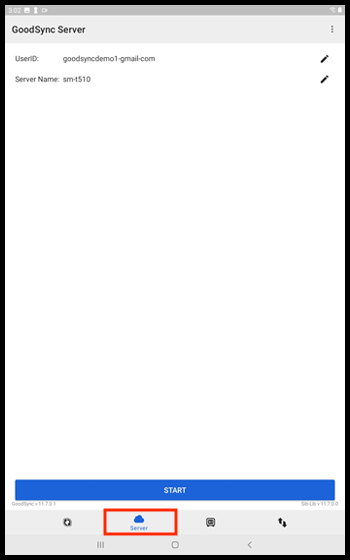
To the right, you will see the Server tab. This tab allows you to utilize your Android device as a server using GoodSync Connect.
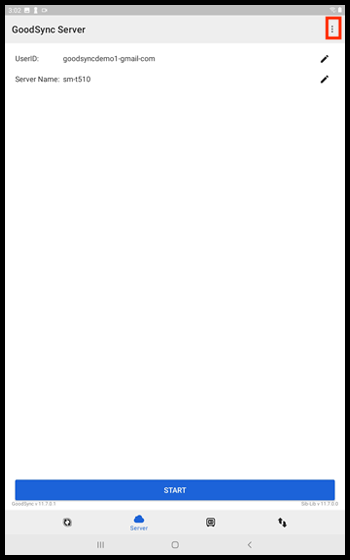
In the top right corner of the initial screen of the Server tab, you will see 3 dots.
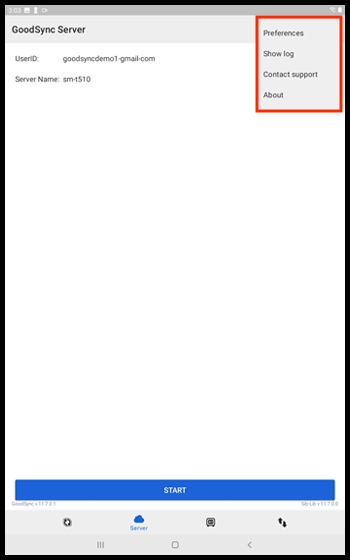
Tap the 3 dots to see options to view your Preferences, Show an activity log, Contact Support, or view GoodSync About page.
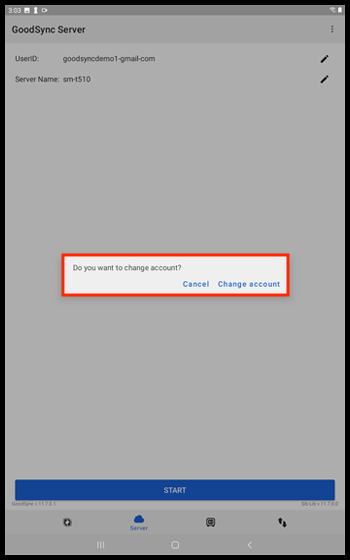
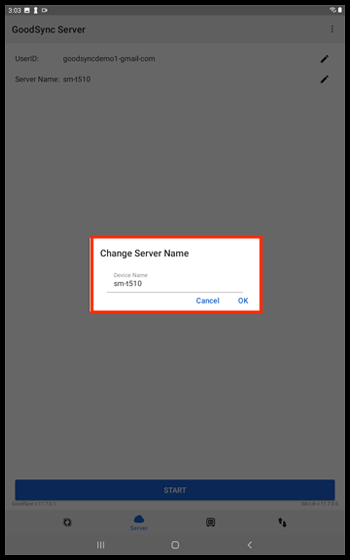
At the top of the page, you will see fields containing your UserID and Server (device) Name, and a "Pencil" icon to the right of each.
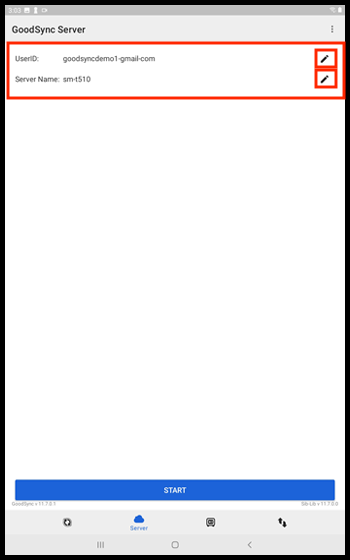
Tapping the pencil icon next to UserID will present you with the option to change accounts.
Tapping the pencil icon next to Server Name will allow you to edit the Server Name.
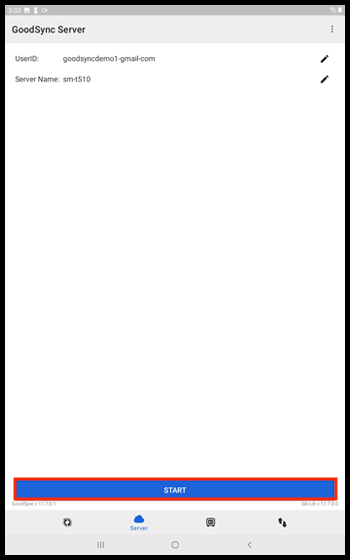
To start the server, press the blue "Start" button at the bottom of the page.
When the Android device has successfully connected, GoodSync will show the screen below.
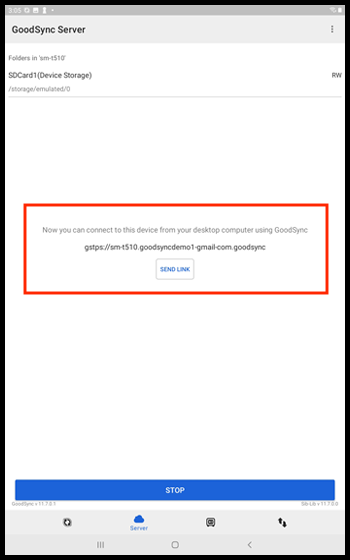
This is useful for situations where you may want to transfer photos or other data to and from your Android device.
NOTE: For more information about how to utilize the server tab to transfer photos and data to and from your Android device, click here.
The Local Tab
To the right of the Server tab, you will see the Local tab. This tab allows you a designated area to store files on your Android device. Storing files in your Local storage makes accessing and managing them from your device streamlined.
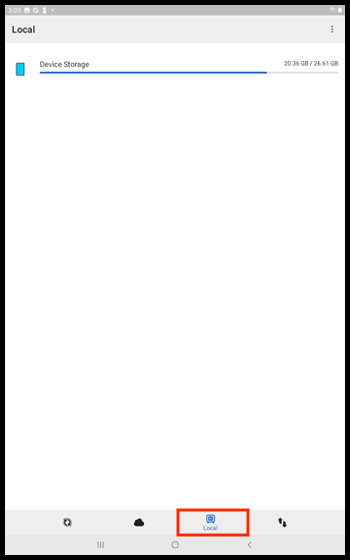
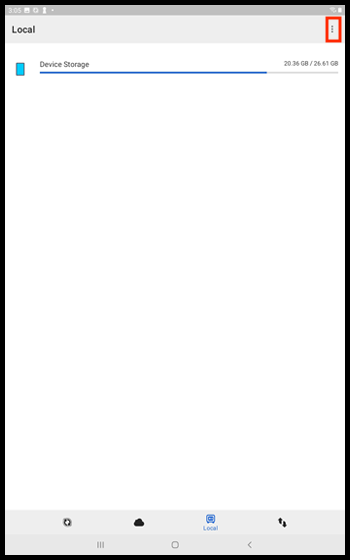
In the top right corner of the initial screen of the Local tab, you will see 3 dots.
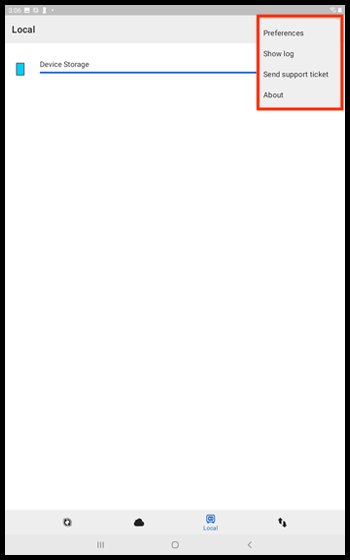
Tap the 3 dots to see options to view your Preferences, Show an activity log, Send a support ticket, or view GoodSync About page.
You can refresh by tapping the "Circular-Arrow" button and add new folders by tapping the folder icon with a plus sign.
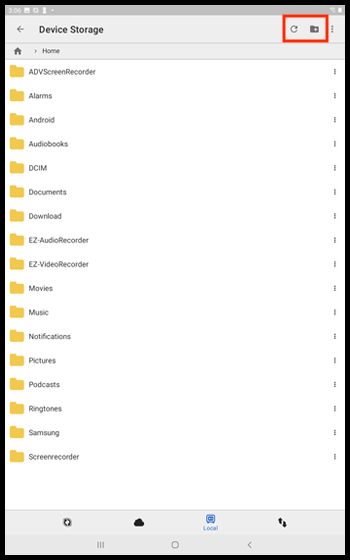
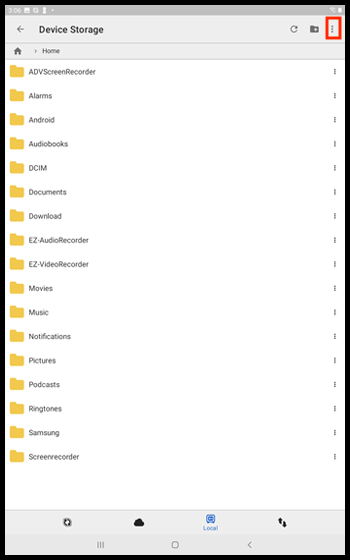
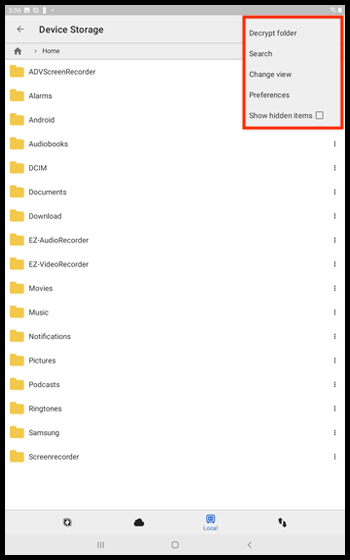
You can also tap the 3 dots in the top right corner to see options to Decrypt folder, Search, Change view, Preferences, and Show hidden items.
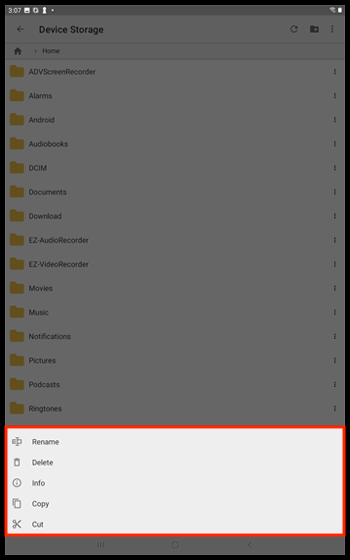
If you tap the 3 dots to the right of an item, you will receive a menu with options to Rename, Delete, view Info, Copy, and Cut.
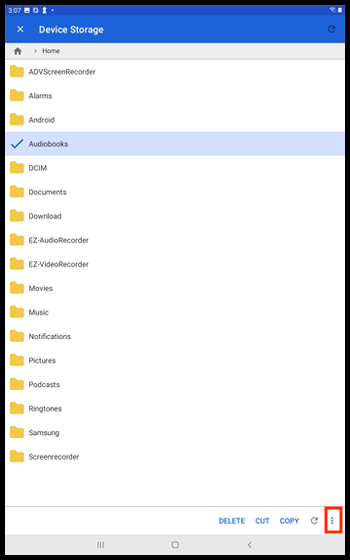
If you press and hold on an item, at the bottom right you will see options to Delete, Cut, Copy, and Refresh.
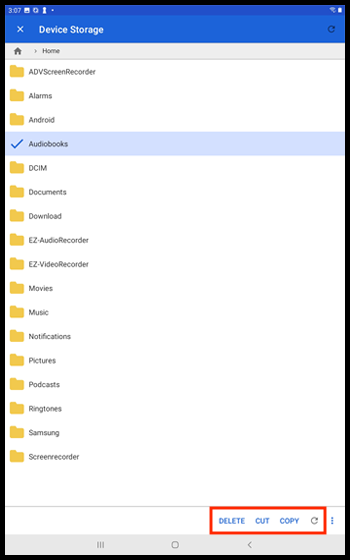
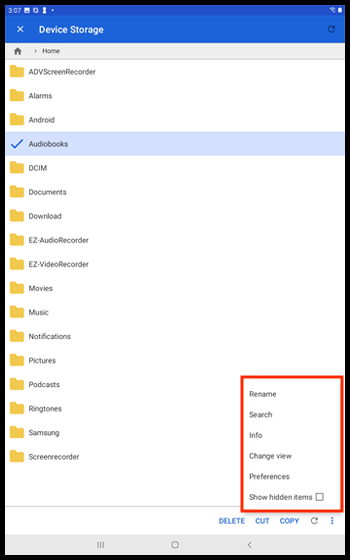
To the right of these options, you can tap the 3 dots to see further options to Rename, Search, view Info, Change view, Preferences, and Show hidden items.
The Operations Tab
To the right of the Local tab, you will see the Operations tab. This tab lists your current and previous tasks.
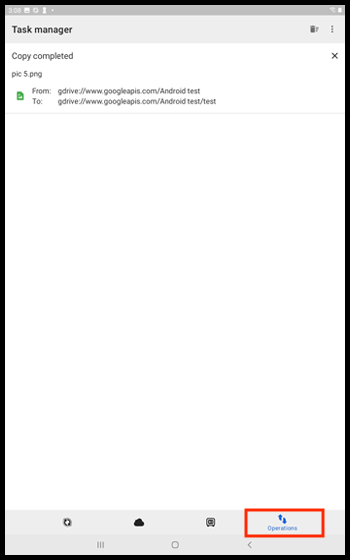
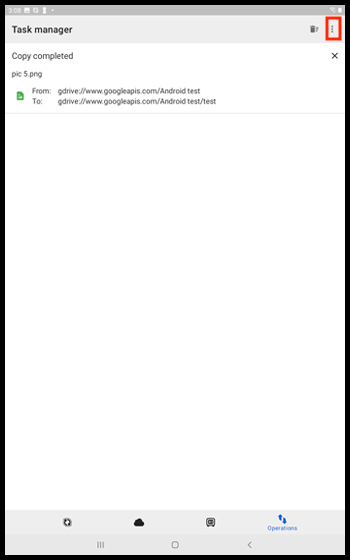
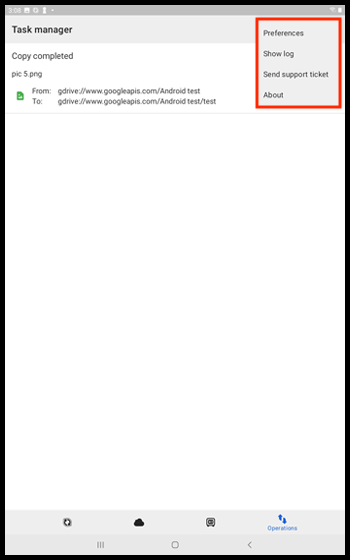
In the top right corner of the initial screen of the Operations tab, you will see 3 dots. Tap the 3 dots to see options to view your Preferences, Show an activity log, Send a support ticket, or view GoodSync About page.
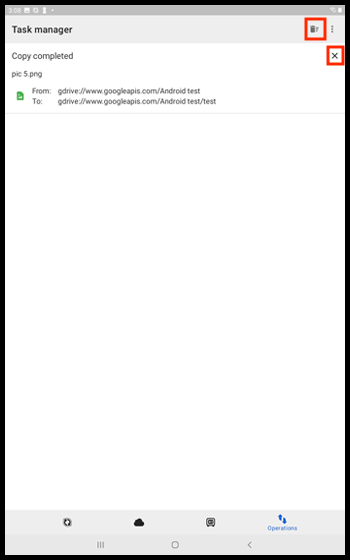
There is also a "Trashcan" icon which you can tap to clear your task list. If you would like to clear individual tasks, you can tap the [ x ] button in the upper right of each task.
Preferences
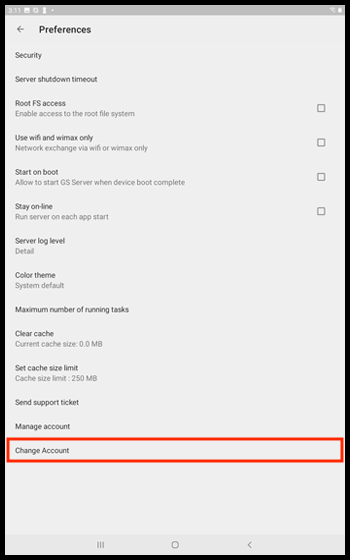
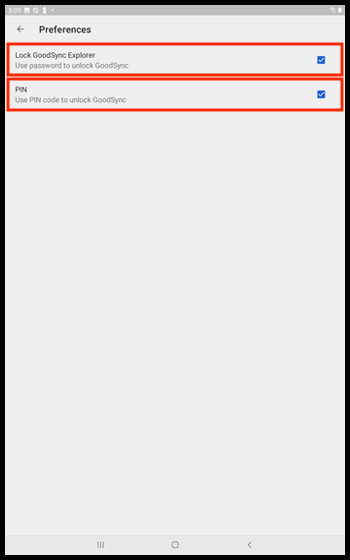
In the Preferences menu, the first section is the "Security" section. This section allows you to choose an option to "Lock GoodSync" which will, on its own, prompt you to input your GoodSync password when you open the app. The second option is "PIN" which, when used with "Lock GoodSync" enabled, will allow you to unlock GoodSync with a PIN you create instead of your GoodSync password. The PIN option is not selectable without enabling "Lock GoodSync"
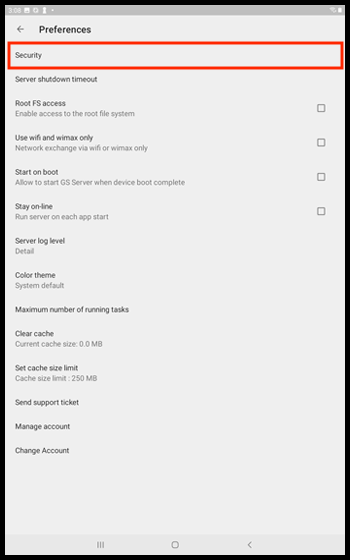
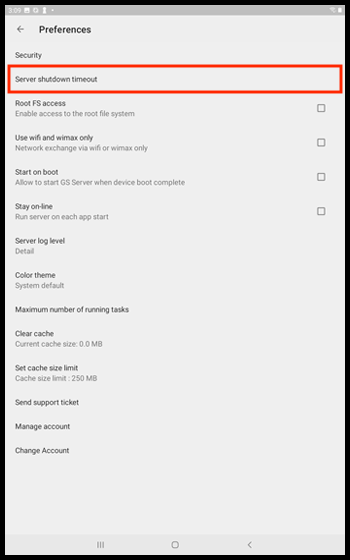
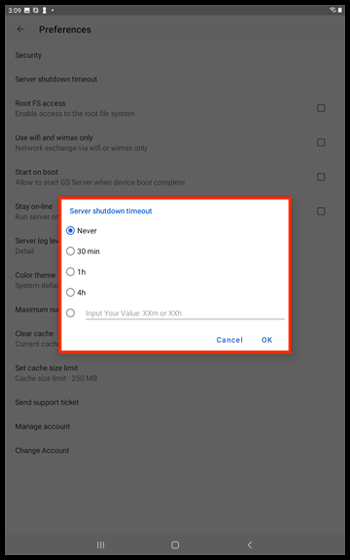
The next option is to set the "Server shutdown timeout" period. When you tap "Server shutdown timeout" you will be presented with a menu offering you these timeout period options: Never, 30 minutes, 1 hour, 4 hours, and a custom value option. To change your Server shutdown timeout period, make a selection, and tap the blue "OK" button.
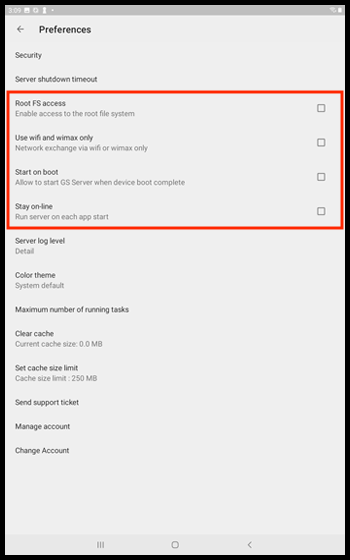
Below "Server shutdown timeout" you will see options for Root FS access, Use wifi and wimax only, Start on boot, and Stay on-line. Check or uncheck their respective boxes to enable or disable them.
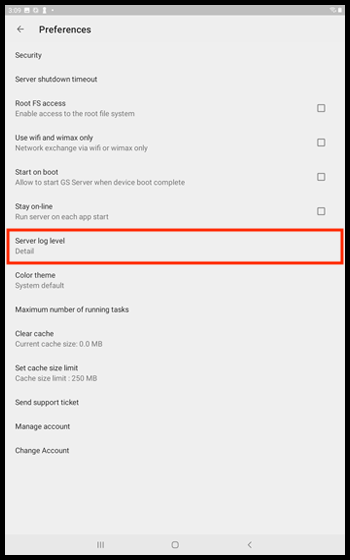
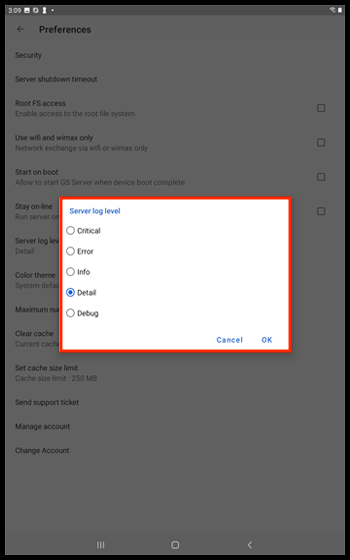
The next option is "Server log level." Tapping "Server log level" presents you with a menu offering you these log level options: Critical, Error, Info, Detail, and Debug. To change your Server log level, make a selection, and tap the blue "OK" button.
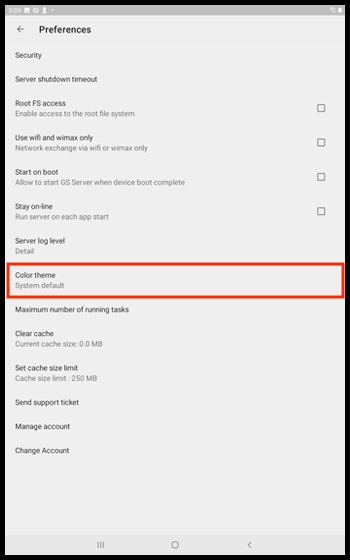
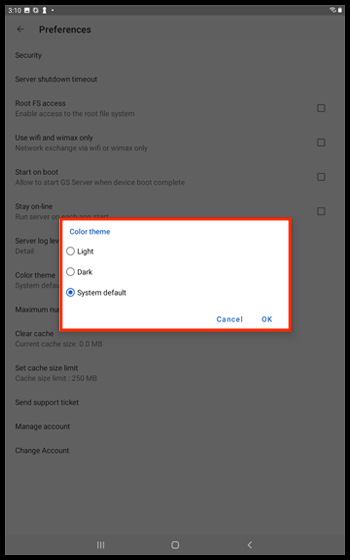
The next option is "Color theme." Tapping "Color Theme" will present you with these options: Light, Dark, and System default. To change your Color theme, make a selection, and tap the blue "OK" button.
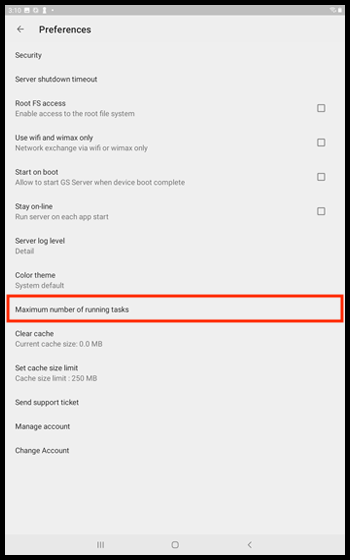
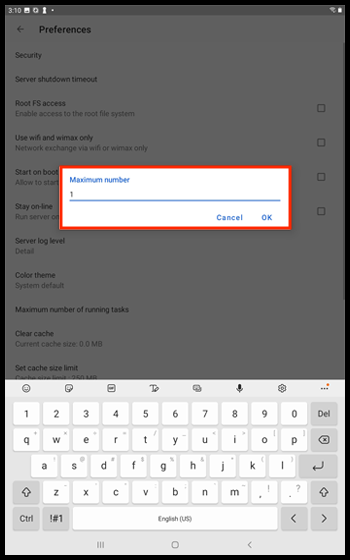
The next option is "Maximum number of running tasks." Tapping this option will present you with a window where you can input a custom number of running tasks. To change your Maximum number of running tasks, input the number you wish, and tap the blue "OK" button.
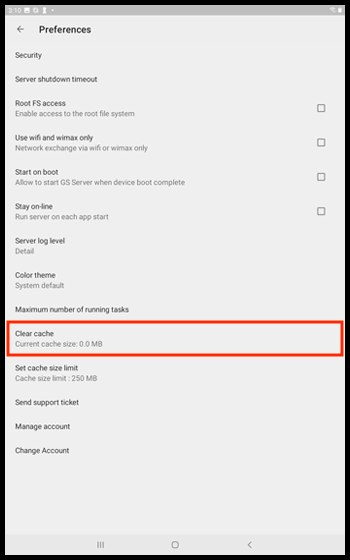
The next option is "Clear cache." Tapping this option will clear your cached files.
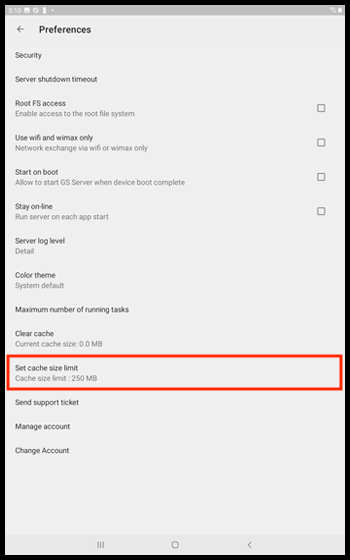
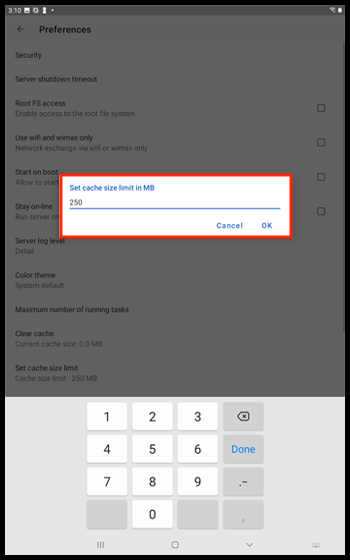
The next option is "Set cache size limit." Tapping this option will present you with a window where you can input a custom cache size limit. To change your cache size limit, input the number you wish, and tap the blue "OK" button.
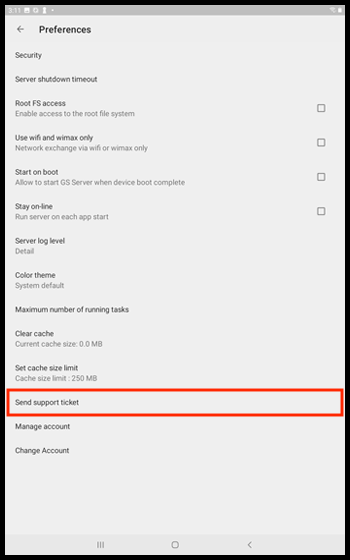
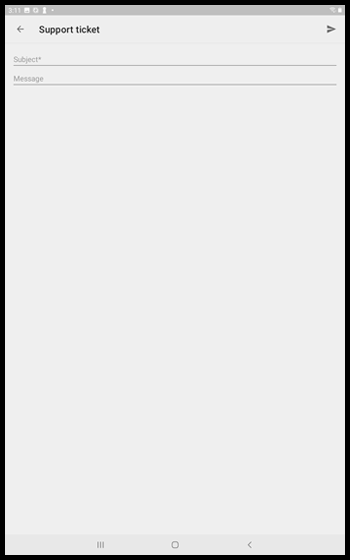
The next option is "Send support ticket." Tapping this option will present you a support ticket to fill out and send.
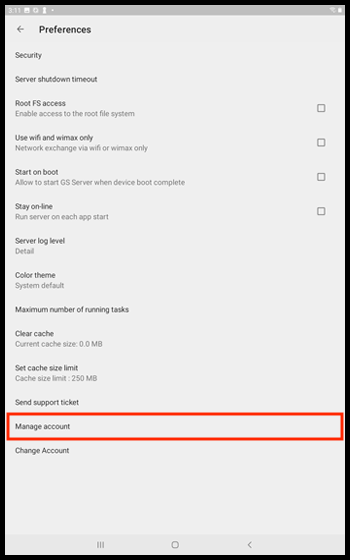
The next option is "Manage account." Tapping this option will sign you in to your GoodSync account online, through your browser of choice.
The last option is "Change account." Tapping this option will log you out of your current account and allow you to sign in with a different one.